Farmers Point - HO/OO Scale day
This article was published Dec 26, 2014.
Finally reached the first scale day - the HO/OO Scale day.
Made a lot trees during xmas, also assembled and connected the control box. Build it was easy, but making it work was a struggle.. would never manage without my electric instrument so I could fail test each electric section.
Trees in place but I am not sure this is final planting, might move them around a bit. No one is glued down, only stuck them in the foam with a preset hole from a dowel. Tried to group each "type" of tree in two-three or more and then mix that, but I will have to look at it for a few days to decide how´s the final set is gonna be.
Trees
Here is all trees finished with both foliage and colouring. To make them yourself, you need the following ;
- superTrees from scenic express
- any foliage of your choice, the "powder" kind is the best, not the fluffy types.
- 3M photomount permanent spray glue
- gray, yellow and green ordinary rattle cans
- a dowel and a couple of left over foam pieces
- a big box to catch excess mtrl in
To make them I did the following ;;
- first take the dowel and pick dozens of holes in each piece of foam you found. Put first in front of you.
- Open the superTree box and caaareeefuuullly pick out one tree at a time. It´s a bit tedious cause each ´tree´ seems to be connected to all the others.. Put them in the pre-made holes in the foam. When you got enough trees, put the superTree box aside, go outside with the first foam piece and the gray rattle can.
- In a corner without wind, spray your trees gray. Only the major branches needs to be sprayed, the smaller will not show later anyway. Do the same with all the rest foam pieces you mounted trees on.
- No need to wait. When you are done with the last, take the foam piece you sprayed first and go to the garage or any place there it is ABSOLUTELY wind free but still ventilated and not indoors, cause all phases makes a lot gas the rest of the family will not like..
- Take lose one tree at a time, spray with the 3M photomount spray ONLY the upper parts of the tree and only from a slight angle from above. With one hand, sprinkle on foliage on your tree with your big collecting box in-under. Shake the tree carefully to make excess mtrl loose from it. Mount it back on the foam. Repeat this for all trees. Don´t forget to change foliage colour from time to time, not all need to be exact same green.
- When done, take the green rattle can and from rather long distance, only spray small "puffs" on the trees to make them light up a bit. Make sure you are holding it from above according to the trees. (since the sun only shines from above and not many trees has mirrors under them..)
- Change to the yellow rattle can. This time we are only "puffing" so very slightly above the tops of each tree, to simulate sun making trees go slightly withered. Again, do not do the exact same thing to all trees.
- Let them dry over night, else you will take the smells back into the house.
- Done and ready for planting.
- If you get many trees which are bent, you could either heat them with a soldering iron on the bent part or dip them in matt medium and let them dry hanging upside down with clothes pins, one in each end. One as holder and one as a weight to stretch them out. I did skip this part entirely and instead did nip of those tree tops which was worst or plant them as is, in an angle that didn´t show it so much. To lazy and inpatient to wait for this step..

That´s it folks.
Don´t thank me, I found this on the inter of nets.![]()
control box
One phono plug for the power supply and one switch for each track section, A to D. The gray one is for the 9mm track, the black for the 16.5mm track. The side of it will be covered with a false barn later on. This old school way of doing things is the last I do. Future layouts will be RCC only (R/C with battery onboard). Reason is I do not want to alter models which is part of my collection, but still able to run them at times.
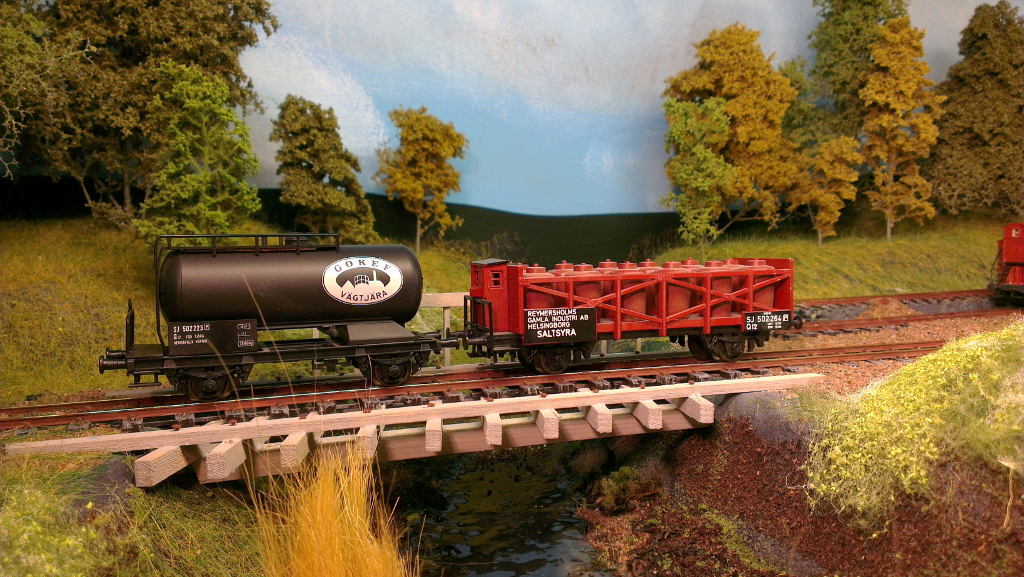
HO/OO Scale day
A couple of my swedish HO std gauge vehicles.