Farmers Point - Track laying 2
This article was published Dec 21, 2014.
This time I put the rest track in place and ballasted it. When dry it is time to do final test runs and make sure all tracks runs smoothly. Also started on the new forest.
Track laying
- test the track on the layout, pre-bend and make sure all pieces fits as you want them.
- pre-paint the track before adding to the layout. Much easier to see and reach when sitting at the workbench then stretching over the layout.. No paint on the joints, that we do last.
- make sure the track works flawlessly, test run with both small and big locos / wagons. Check the electrics twice.
- paint a dark colour under each switch, since we want to avoid to much sand there.
- add the sand with a spoon. I use real sand from the backyard, sifted in different sizes, but there is other options.
- start with a big brush and use it to smooth out the sand, showing the top of the sleepers but not much more. Study the real thing. VERY careful at the switches. Best is to use no sand at all, or almost nothing close to the frog and blade.
- change to a small brush, tiny even and brush away all remaining sand on top of the sleepers.
- mix 50/50 white glue and water. add a few drops of dish-washing liquid, the manual kind, not for machines..
- using a syringe carefully drop small amounts of glue along the SIDES of the track, let it suck in to the middle by itself. Doing so you (hopefully) avoid to much glue on top of the rails which effect electric power to the trains.
- Let it dry completely, no idea to poke in it before that.
- Make sure the track is under good light and go through it a bit at a time, like a foot long or so.
- first rub the top of the rail with a piece of soft wood, like a coffee stirrer or equal.
- then take a small philips screwdriver or any sharp tool and check for tiny bits of sand which shifted by the glue and now are locked to the inside of the rail.
- Put on a loco and test run. If it works fine, continue with the next bit, if not .. well, rub rub and do it all over again ...
- When all done, time for the final touchup. Paint all joints and add oil spill and coal piles if you are using steamers.
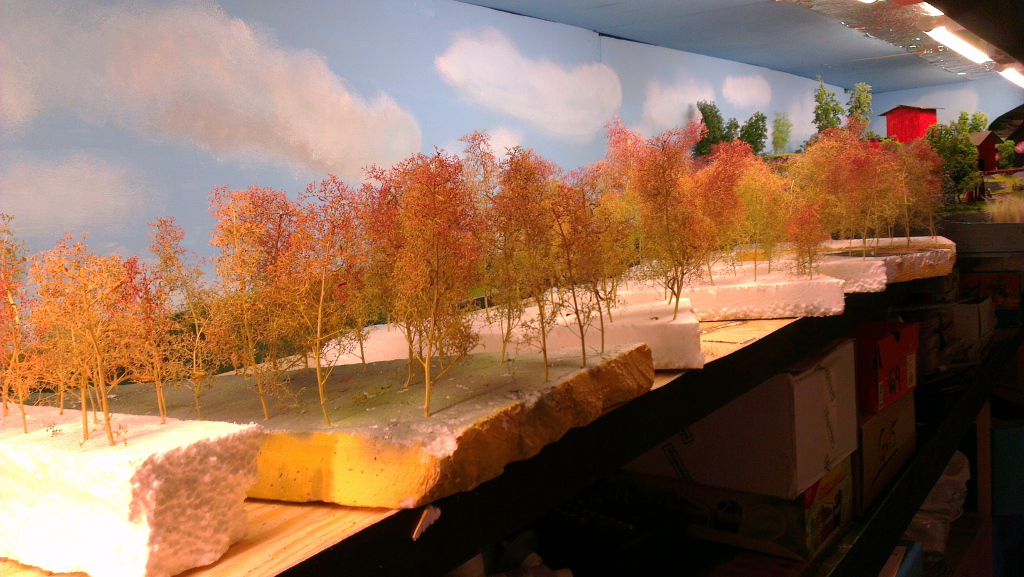
the forrest
Great colours! but if all looked like this it would not be so nice. Next time these will be sprayed gray and added foliage to, plus the usual colours sprayed on. Took some time just to sort these out and mount them on pieces of foam. This is the rest from Blackwood ridge plus another pack. The smaller pieces not suitable as trees will be used to as bushes and forest ground cover.